Up until I was in my late twenties (when I got married), my mother gave me a talisman to carry in my bag. A Chinese talisman is some lucky words written in red on a piece of yellow paper. I don't believe in talisman but my mother is a great believer. So to give her peace of mind, I accepted the talisman. But I was too embarrassed to let anyone see me carry a talisman, so I put it in a tiny drawstring pouch. No, I didn't make the drawstring pouch and I still have it except I can't pinpoint its exact location.
Anyways, recently I find I worry about my daughter a lot and I can't help but think maybe a talisman might help. No, I'm not going to a temple to get one. Instead I'm making my own lucky charm pouch. So lucky you, while I was making the tiny pouch, I took pics so you guys can make your own. Now the hard part: how to sneak it into my daughter's bag?
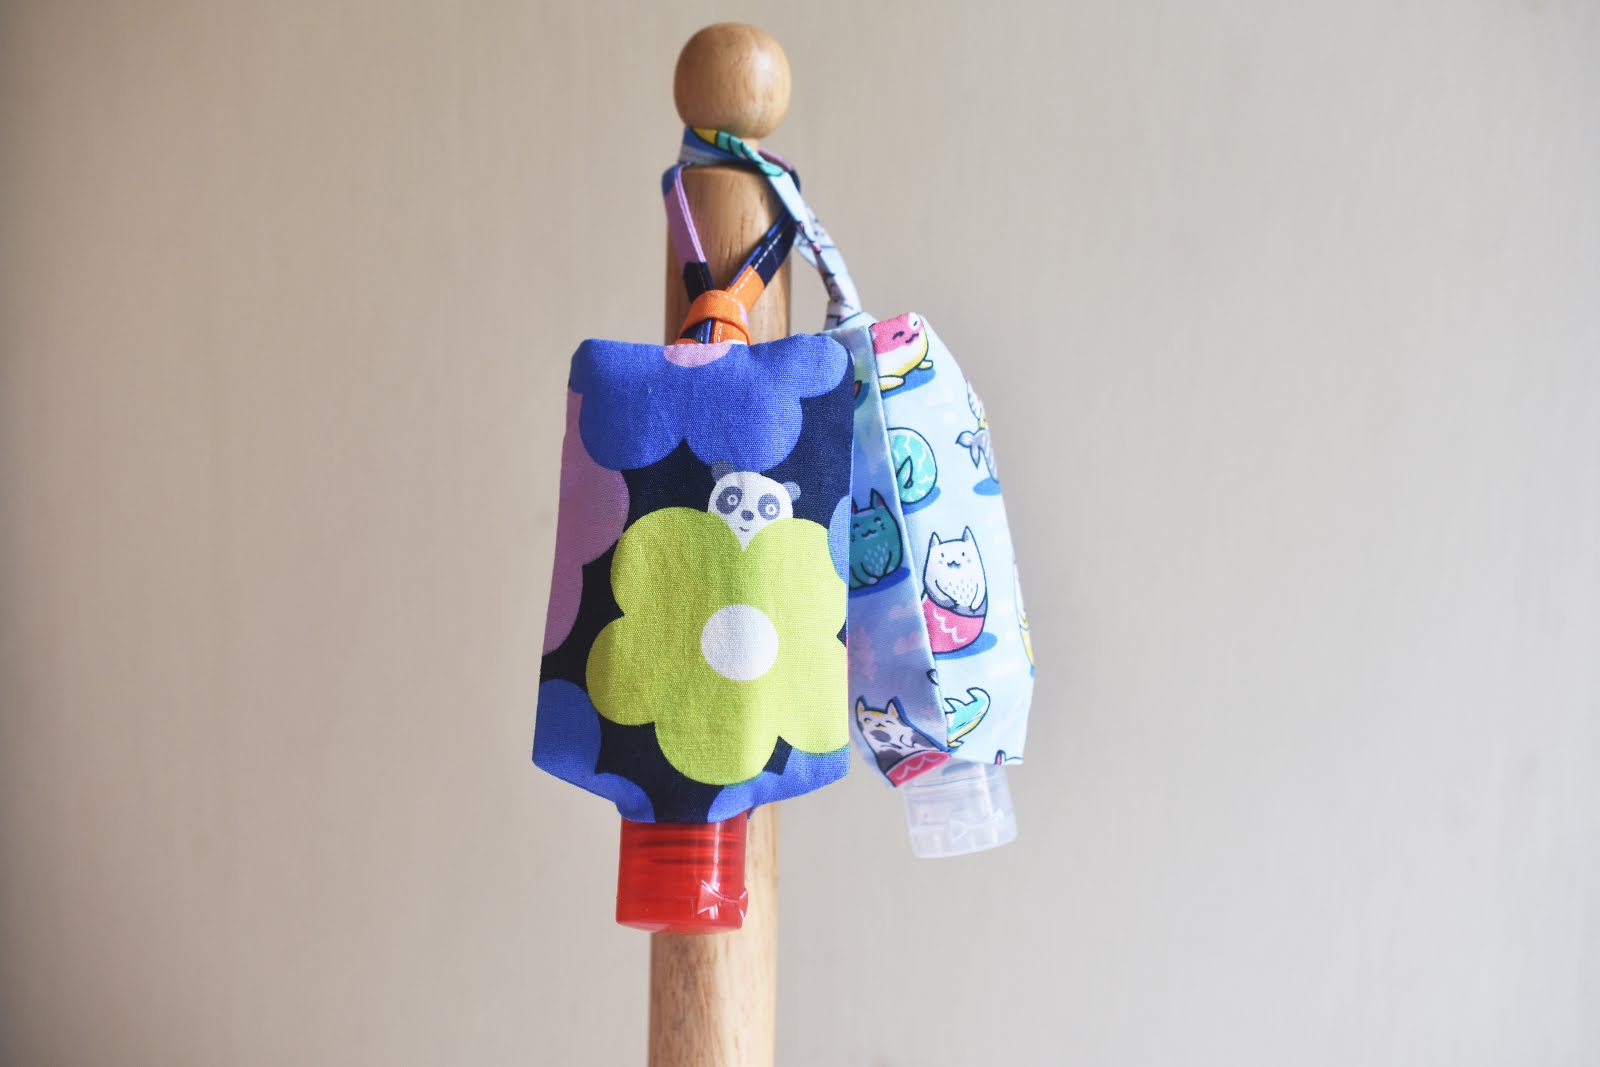
This little drawstring pouch can be a lucky charm pouch or you could put some potpourri. Or use it as a little decoration for your bag. Or use it as a gift pouch? (omit the cord)
FYI, PingAn (平安) means peace, safety. Please note that you don't have to use the Ping An characters. You can easily use other appropriate words which apply to your situation such as Love, Joy, Money, $$$, 100/100, Toto, Powerball, etc.
1. Supplies
cord: 7"
thread which functions as a drawstring: 16" cut into 2 (I used size 3 Egyptian cotton. You can use perle cotton or embroidery thread)
fabric: Little amount of exterior and lining. For scrap fabric, I used a light beige colour so the words will show.
pen: see step 3
p.s. I interfaced the exterior fabric but left the lining as is. So include interfacing in the supplies if you need it.
Download the template
HERE and use the templates to cut out your exterior fabric, lining fabric and the scrap fabric.
2. Fold
The scrap fabric needs all four edges folded in. Use the 平安 template folded along the dotted line as a guide. Iron the folds to get a nice edge.
3. Pen
I used a ZIG fabricolor pen to write 平安. If you don't have such a pen, use a Sharpie or a micron pen. Or whatever you have as long as the ink is permanent.
4. Position PingAn
Fold your exterior fabric in half along the length, right side facing you. Position the folded scrap fabric with 平安 in a diamond shape. The bottom tip of the diamond should be 0.5" from bottom fold of exterior fabric. Keep diamond centered on both sides. Pin the scrap fabric to the exterior fabric and sew the scrap fabric to one layer of exterior fabric around the folded edges.
5. Cord
Position cord (folded in half) as shown above. I have around 0.5" of cord above the top of the exterior fabric because such cord tends to fray. You can use fray check or a dab of glue on the ends. Baste cord to exterior fabric close to the edge.
6. Sew
Right sides together, place exterior fabric over lining fabric. Match top of the shorter side. Sew across.
Repeat for the corresponding short side. Note that the lining is deliberately shorter than the exterior. Iron seams open.
7. Re-position
Move your fabric around until you have the seams of both top and bottom pieces meeting perfectly. Pin. Note that your exterior fabric will be on top of each other and same goes for lining fabric.
8. Sew sides
Sew the sides together. Leave a 1.5" gap in the lining for turning right side out.
9. Trim and iron
Trim the 4 corners and iron the side seams open. Turn pouch right side out.
10. Drawstring 1
Because this pouch is very small, we won't create a casing for the drawstring. Instead we use thread to do the job. You can sew through both the exterior and lining but I find it too thick for my thread to go through so I'm only going to thread through the exterior fabric. We start on the front of the pouch. Keep a constant distance of 0.5" away from the top of the pouch. The first and the last stitches are 1/4" away from the sides. In between the stitches are 1/2" apart. Repeat with the stitches at the back of the pouch.
If you have done the first drawstring correctly, both ends should be on the left. (see image above)
11. Drawstring 2
We want the 2nd drawstring to go in the opposite direction so we start at the back. This time you don't need to measure, just place your stitches like 1/8" below the existing stitches. Repeat for the exterior front.
If you have done the 2nd drawstring correctly, both ends should be on the right. (see image above)
12. Finish Up
Thread the 2 ends of each drawstring into a bead and tie a knot. You can omit the bead if you don't have one. Sew the gap in the lining using
slip stitch, push the lining into the pouch and you're done!
Tassel Variation
If you like tassels, you can attach one to your pouch.
a. Make your tassel. You can follow my tutorial
here.
b. In step 5 after attaching the cord, you can sew the tassel onto the exterior fabric. Keep it centered.